Let's see now...where did we leave off? Oh yes, that's right, PAINT! Now that you know there are over 50 shades of white out there, I'd like to stay on the topic of walls! There's this "little" trend going around called Shiplap! If you've never heard of shiplap you either live under a rock or...you must seriously live under a rock! Please do yourself a favor and binge watch Fixer Upper on Netflix now! Like right now, stop reading and go watch it! Our beloved Chip & Joanna Gaines brought this unique way of accenting walls to all of our attention. It was a must have for our home but had to be budget friendly!
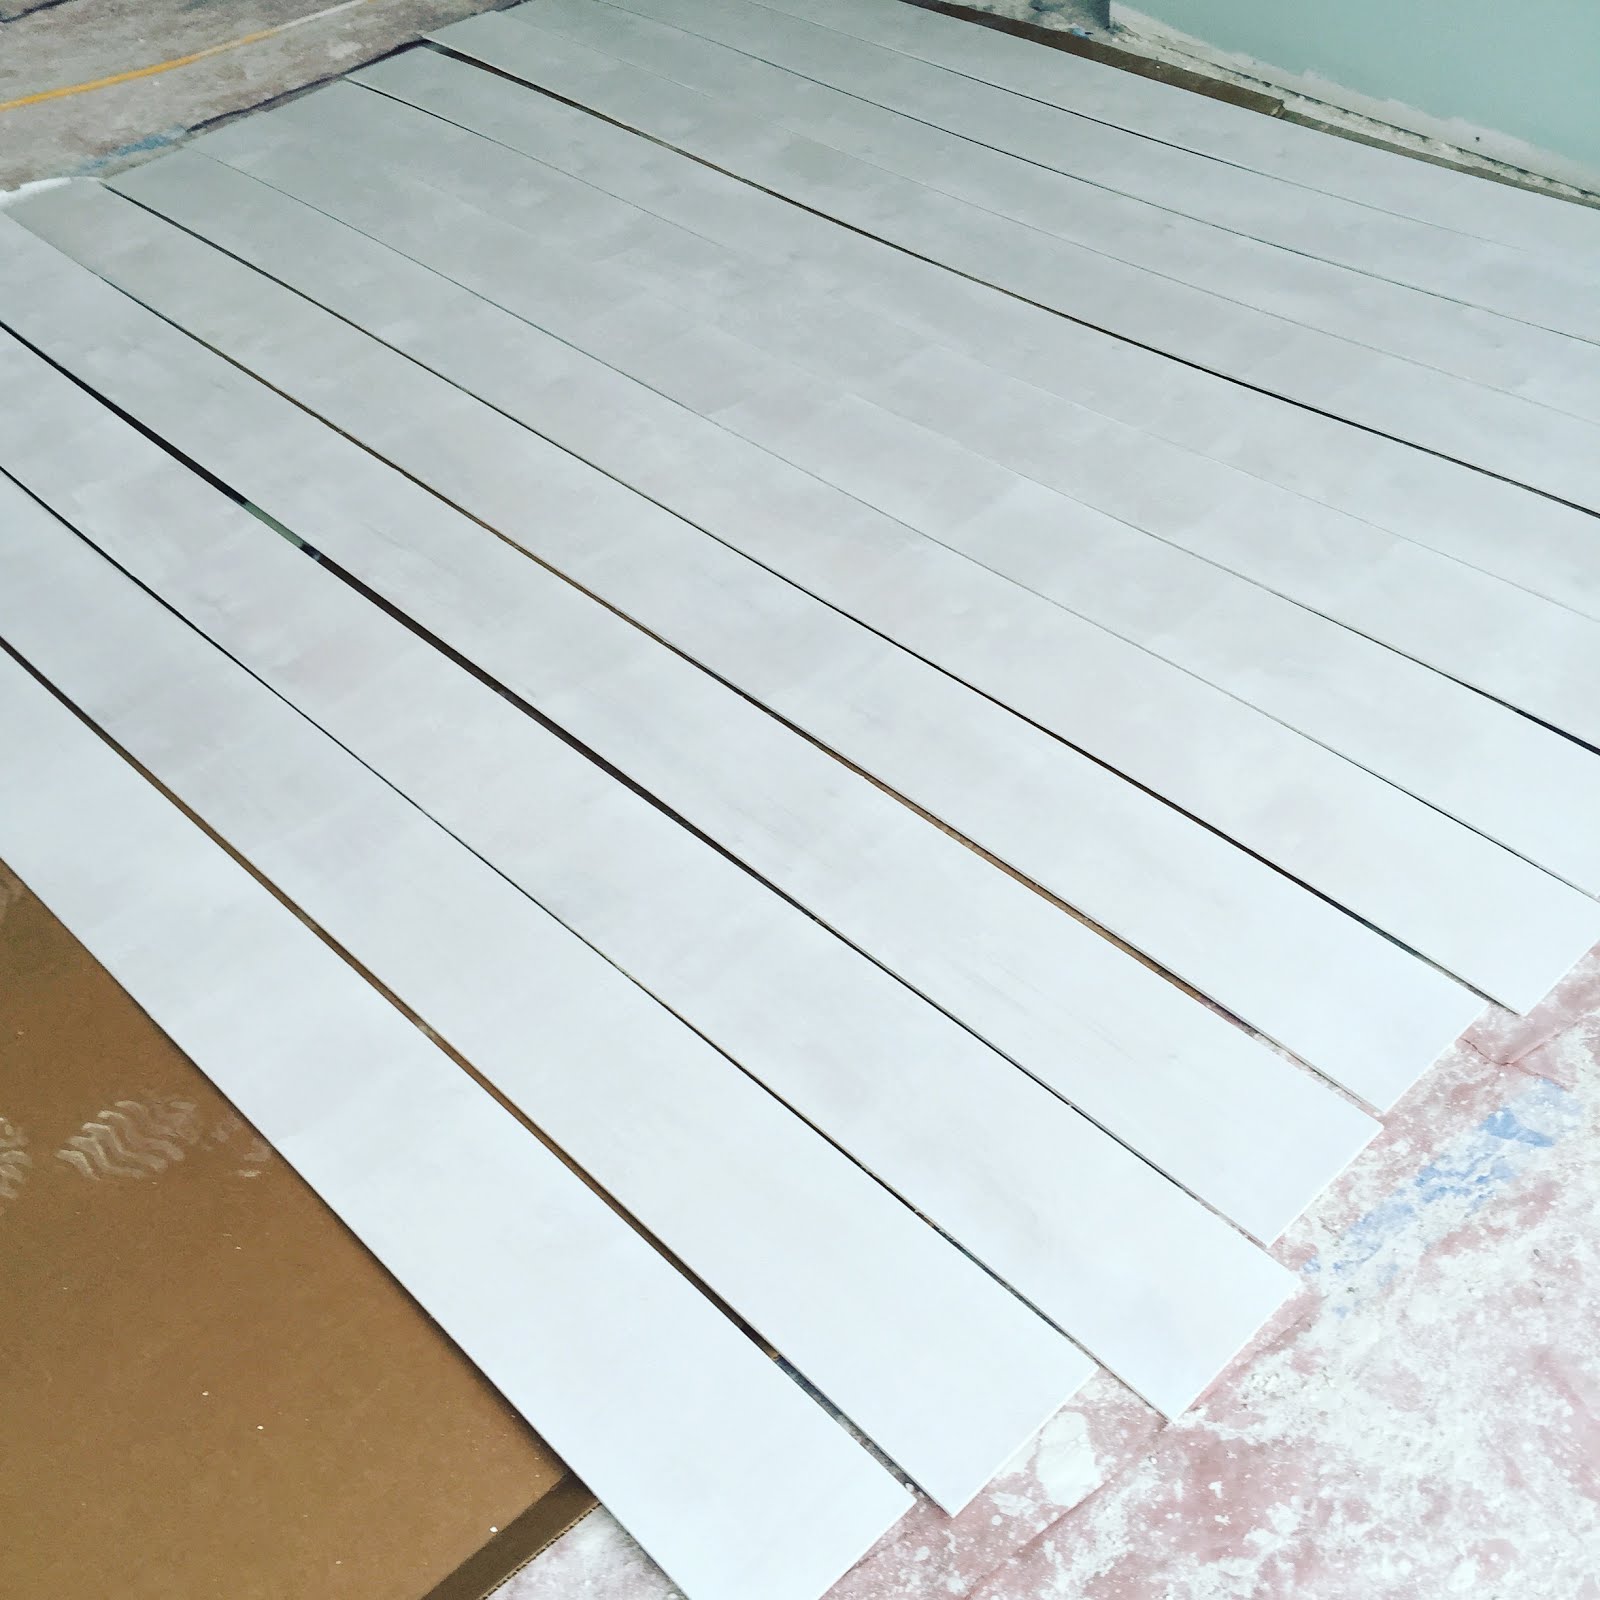
Step 1: Figure out how wide your planks are going to be and measure your walls. I purchased 4x8 sheets of 7/32" Underlayment and I knew I wanted wide planks so I divided my 4 foot sheet into 6 inch planks. I added a couple sheets in case some weren't in good shape (I had a few throw away pieces) because it's better to have a few too many than not enough.
Step 2: Find a Home Depot or Lumber Yard that will cut the sheets for you! Some places don't cut at all - avoid them unless you have a super awesome table saw at home. They may charge you a small cut fee but it's worth it, trust me. I think I had to pay an extra $.25/ cut after the first 10. I talked them down and only ended up paying an extra $2.50. We're on a budget here people!

This is what you'll get!

Step 4: Warning - this is the sucky part - buy a sand paper block (not the paper, get the block) and sand the shit out of the edges. They are rough and you don't want any slivers. Sand, wipe, grab another, repeat...repeat...repeat!
Step 5: You have options here - you can paint them before you put them up or paint them after. I didn't want to worry about running paint in the gaps so I actually primed and painted them all before installing it. It took 1 coat of primer and 2 coats of paint "Simply White" purchased from Hirshfields Paint.

Step 6: Use finishing nails and nail gun to secure the boards. We started at the top, and nailed it to every stud, one high one low. Then we put pennies in-between the secured board and the next board to give a gap. Push up, hold secure and nail.
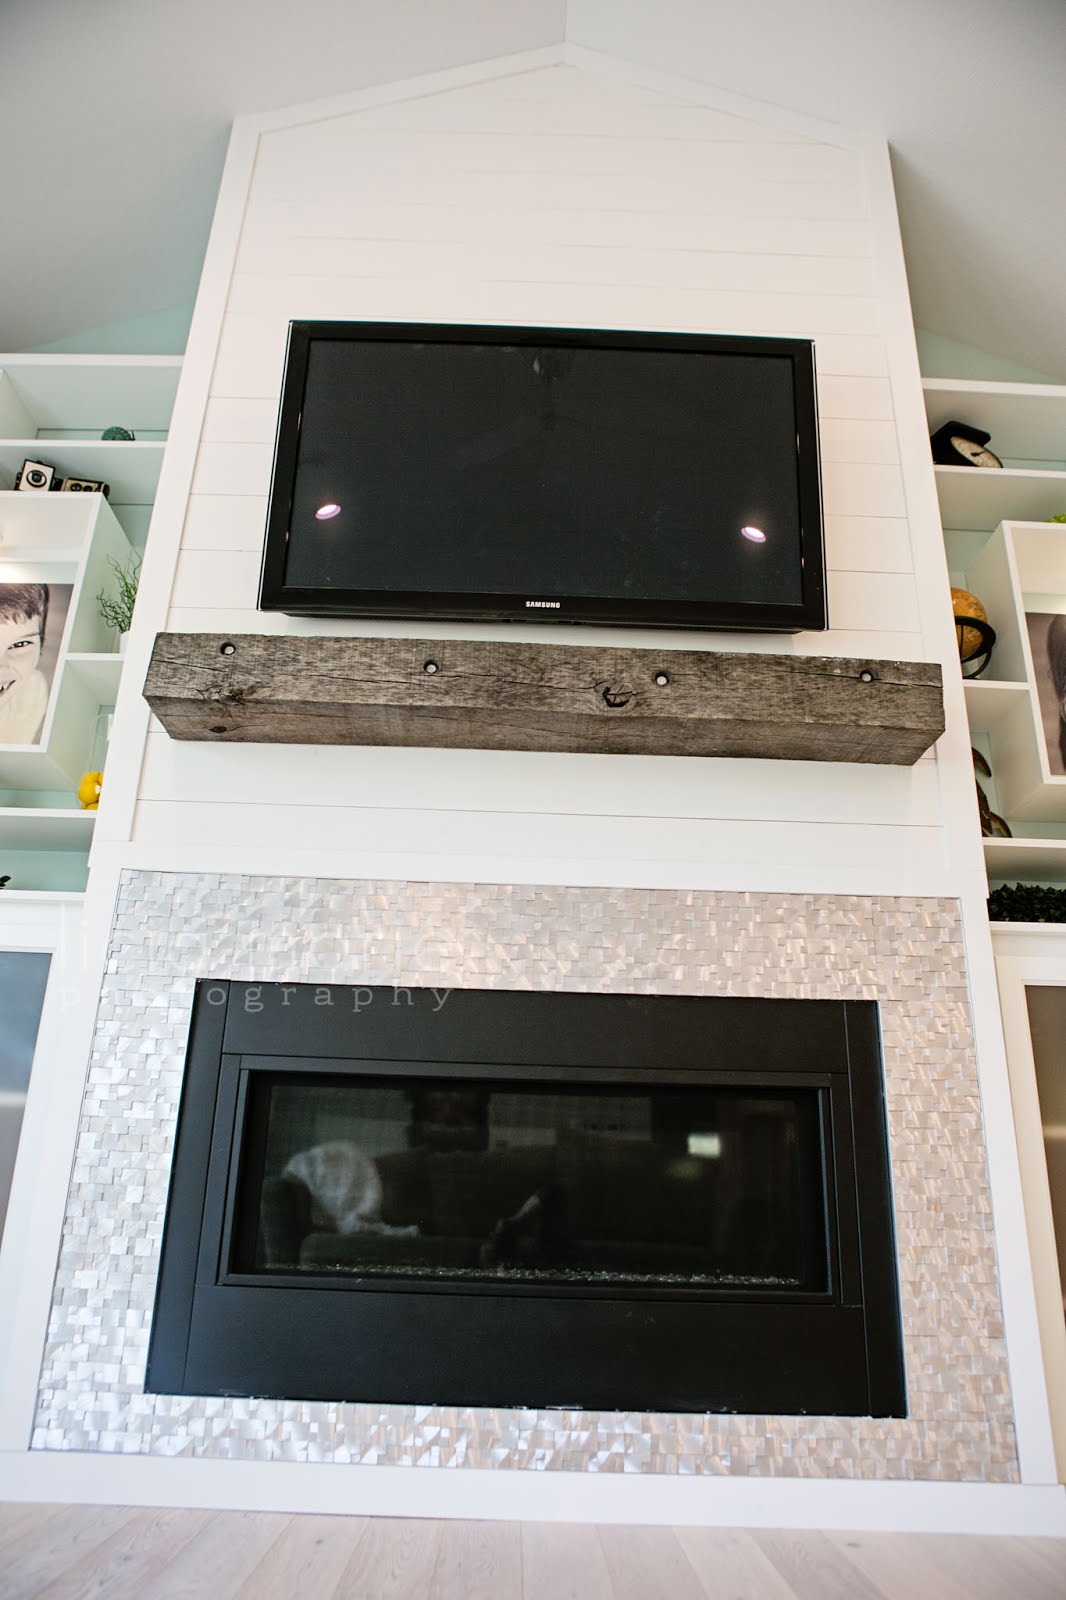
Step 7: Elmers makes a nail hole filler that matches my "Simply White" paint color perfectly! I filled in all the holes with this and didn't have to do any touch ups! We finished the edges with inside and outside corners. And this is the final result!

12 sheets at $11.99/sheet +$2.50 cut fee & tax = $156.44
Paint = $35.00
Trim/Corners = $12.00
Total = $191.44. A great accent to any home for under $200!
FYI - If I would have gone the route of buying 1"x6"x6' tongue & groove pine boards the boards alone would have cost me over $650. That's not including paint and trim. I saved myself over $450! Something to think about!
FOLLOWERS: If you've done a ship lap wall I'd love to see it! Post a pic of it in comments or e-mail it to me and I'll post it! I love seeing DIY projects!
No comments:
Post a Comment